CYBERSECURITY DETECTION & MONITORING LAB:- Part Four
SECURITY ONION
Introduction
Welcome back to the blog series, ‘Cybersecurity Detection and Monitoring Lab’. Find the link to part three of the lab where we installed the Kali Linux Attack Machine and the Ubuntu Linux Security Analyst Machine.
In this episode, we proceed to install and configure our all-in-one IDS, security monitoring, and log management solution, Security Onion. The lab is set up in such a way that all the logs from the victim network are duplicated via a Span Port and sent to Security Onion, as shown in the network topology diagram below. This will allow the investigation and analysis of all the activities that have taken place in the victim network, allowing the Analyst to take swift action based on the alerts generated in Security Onion.

Setting up Security Onion
Configure the VM by following the steps below:
- Go to VirtualBox and click on ‘New’ to create a new Virtual Machine (VM).
- For the name, type in ‘Security Onion, then for the iso image select the downloaded Security Onion iso image and click on ‘Next’.

- On the Unattended Guest OS Install Setup page, type in an appropriate username and password. Click on ‘Next’.

- Give the new VM at least 4GBs of RAM and 4 processors, then proceed to click on ‘next’. (Security Onion recommends 12GB of RAM and 4 processors. In this lab environment, be aware of this as you also consider your hardware capabilities).
- Select a hard disk space of at least 100GB as recommended then click on ‘next’.
- Finally create the Security Onion VM by clicking on ‘Finish’. Take note of the error. We will fix it in the next few steps.
- Click on the Security Onion VM then select ‘Settings’.
- Go to ‘Network’. Select Adapter 1 and set it to Bridged Adapter, then enable Adapter 2 and Adapter 3 setting them both to internal network.
- Set Adapter 2 to interface with pfSense at detect-and-monitor-SecOnion-VLAN i.e. vtnet3.
- Network Adapter 3 will be mapped to the Span Port, detect-and-monitor-SpanPort-VLAN i.e. vtnet5. Set the Promiscuous Mode to ‘Allow All’.

- Select ‘Storage’ and select the Security Onion iso image.

- You can disable both the USB and Audio controllers.
- Click on ‘Start’ to power on the VM.
- Enter an appropriate administrative username and password.
- The installation will begin automatically after you press ‘Enter’.
- Click enter to reboot the VM after installation is complete.
- After the VM has rebooted, enter the admin credentials to login.
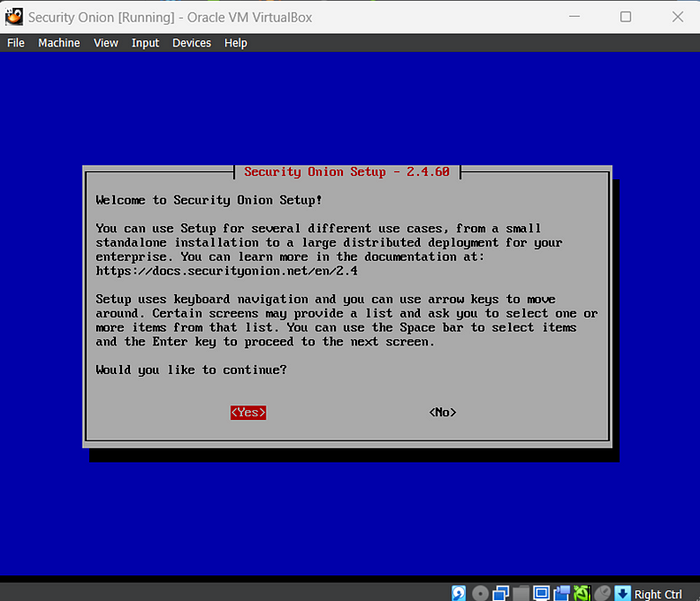
- Click ‘Yes’.
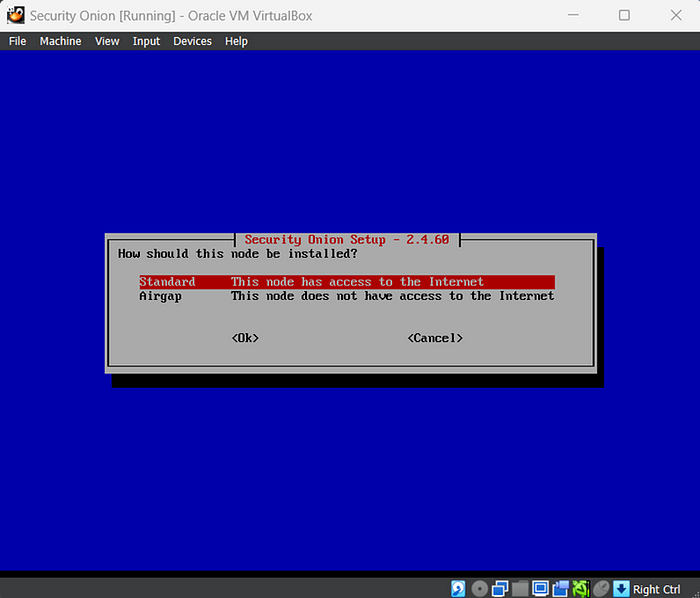
- Select the standard installation.

- Select the EVAL option.

- Type ‘AGREE’.

- Select the Standard option.
- Select an appropriate name.

- Select the first NIC as it’s the one that can access the internet.

- Choose DHCP for the management interface.

- Select ‘Yes’.

- Select ‘direct’ internet connection.

- The monitoring interface NIC will be enp0s9. This will be the NIC for the Victim Network (in our case the Span port). Use the space bar to select it.

- Enter an email address. Note that it doesn’t have to be an actual email address. Then enter a password for the email address. These will be the credentials we use to access the Security Onion web portal.

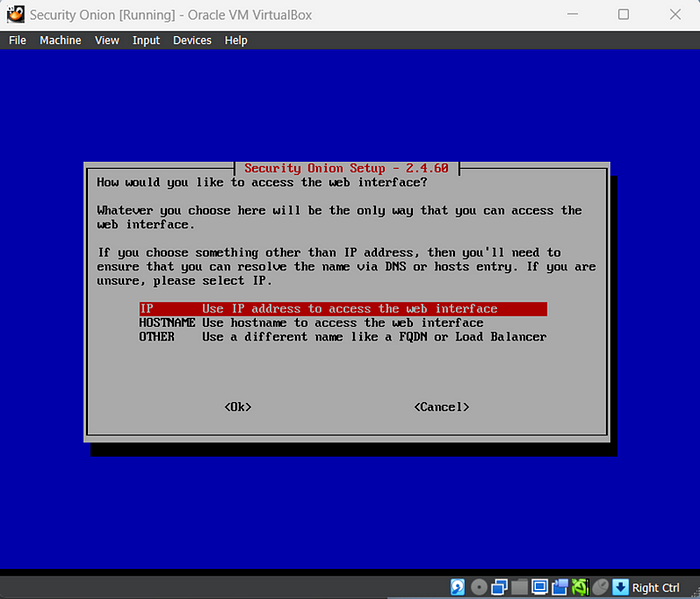
- Select to access the web interface via an IP address.
- Allow access to Security Onion installation via the web interface.

- Type in the IP address range as below. This will be the IP address range that will be allowed to access the Security Onion web interface. Click ‘ok’.

- Take note of the management IP below. It will be the IP address we use to access the Security Onion web interface via the Analyst VM. Press the tab key to select ‘yes’. This will begin installation.

- The installation will be complete, and you should see yourusername@localhost on your Security Onion terminal.
- The next step is to allow access to the Security Onion web interface via the Security Analyst VM. Type the command ‘sudo so-firewall includehost analyst 192.168.100.40’ in the Security Onion console.
- Then type the command ‘sudo so-firewall apply’ to apply the changes.
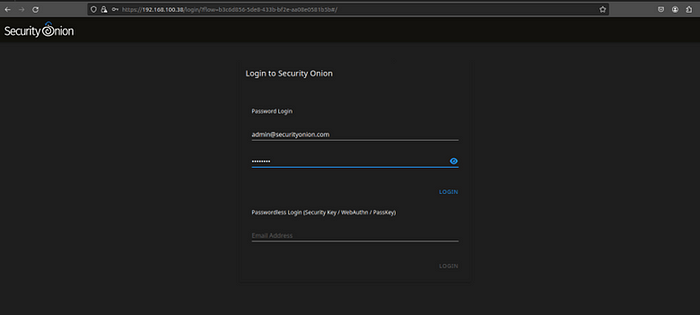
- Go to the browser on your analyst VM and search for https://192.168.100.38 to access the Security Onion web interface.
- Click on ‘Advanced’.

- Accept the risk and continue.

- Enter the login credentials you input during the setup i.e. in my case admin@securityonion.com and the accompanying password.
- Log in to see the following welcome page.

- Given the number of services offered on Security Onion, I will explore its components and write an article on the same.
Note: The management IP address is not static. It depends on the home router that your machine connects. If you need to effect a change in the management IP, type the command ‘sudo so-ip-update’ on your Security Onion terminal.
Excellent stuff! We’ve finally completed setting up Security Onion, which come to think of it, is the engine that will keep our lab moving and make it worthwhile, despite how long the installation takes. Thank you for persevering through it. Next, we have to now configure firewall rules in pfSense so that our lab devices can communicate and access the internet. Catch this in the next episode here: part five. Happy Learning!
